
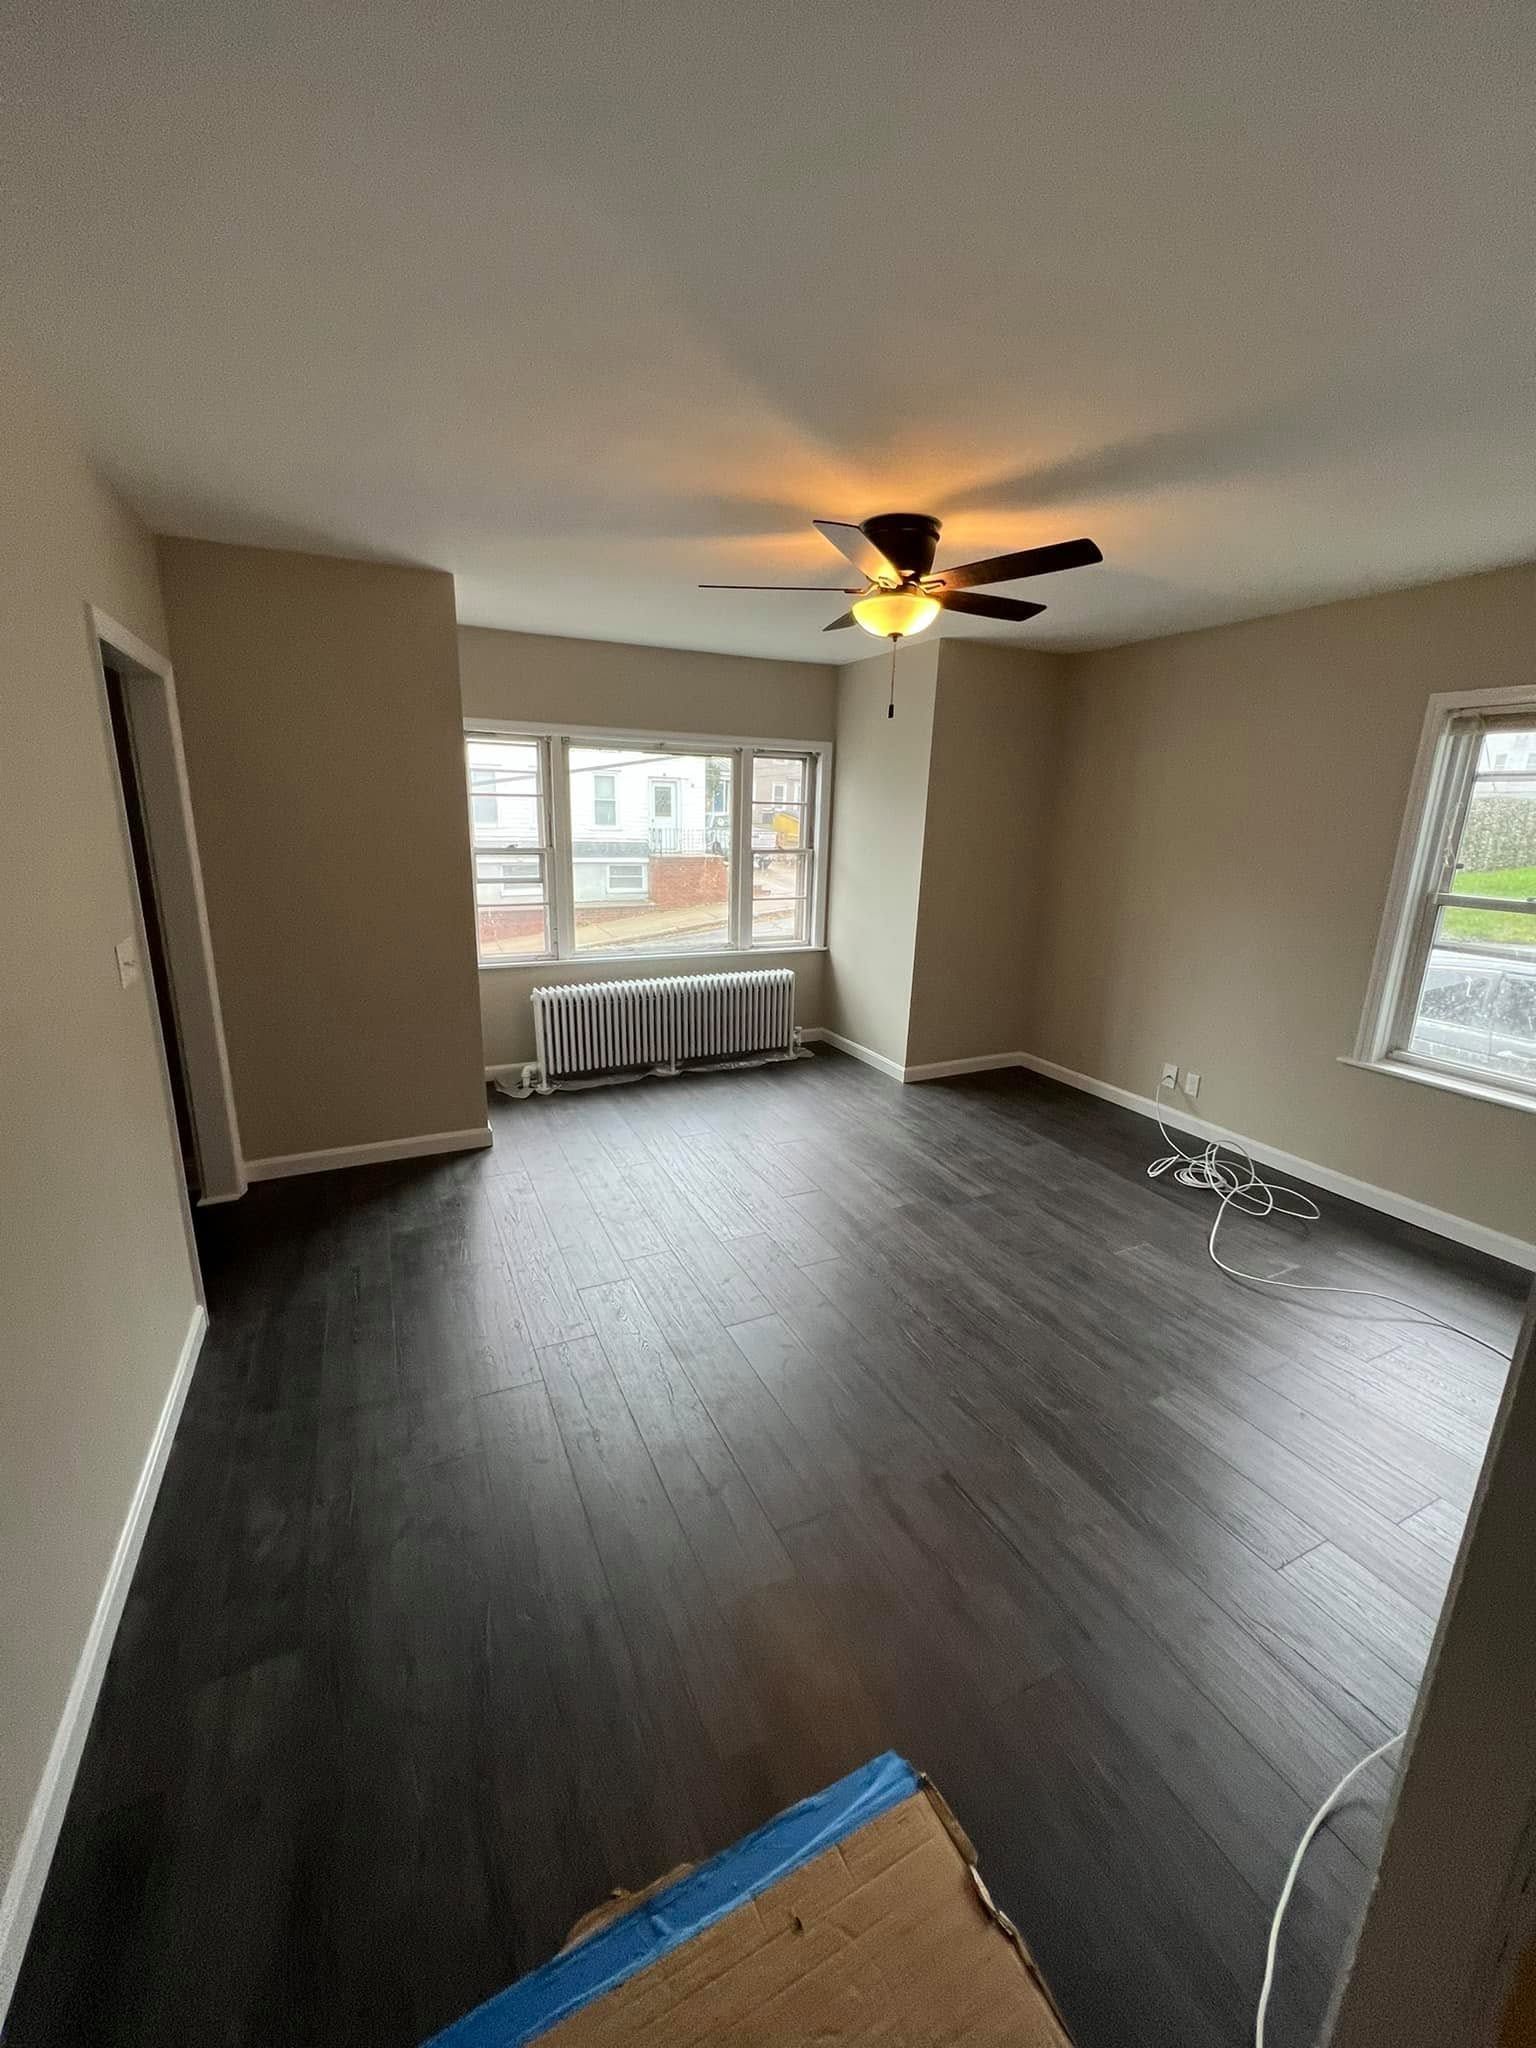
Details That Make Remodeled Rooms Look Deliberate
Finish Carpentry and Trim Work in Fall River for remodeled interiors where incomplete or mismatched trim leaves the space looking unfinished
A remodeled room can have new flooring, fresh paint, and updated fixtures, and still read as incomplete if the trim work isn't handled with precision. Baseboards that don't sit flush against the floor, casing that gaps at corners, or crown molding that doesn't return cleanly at a wall all draw attention away from everything else that went right in the renovation. Infinity Coatings & Construction provides finish carpentry and trim work in Fall River, addressing the detail stage of interior remodels where accurate cuts, tight joints, and consistent line quality determine how the finished space actually looks.
Finish carpentry involves a different set of demands than framing or rough construction. Every cut has to account for the actual condition of the room—walls that aren't perfectly plumb, floors that aren't perfectly level, and corners that aren't perfectly square. Coping joints on inside corners, rather than simple miter cuts, hold their seam as the wood responds to humidity and seasonal changes in Fall River homes, which cycle through significant temperature and moisture shifts across the year. Scribing baseboard to an uneven floor, fitting door casing to walls that have been drywalled and textured, and returning molding profiles at exposed ends all require decisions made on the job rather than in advance.
Arrange an estimate for your trim and finish carpentry work to review the scope of your project and what the installation will involve.
How Finish Carpentry Completes a Renovation's Interior
The sequence of finish carpentry relative to other trades affects the quality of the result. Trim work typically follows painting of walls and ceilings but precedes final floor finishing in some cases, and always coordinates with where flooring terminates and how transitions between rooms are managed. Baseboard height, profile depth, and how casing aligns with door and window jamb thickness are decisions that need to reflect what's already installed in the space—matching existing trim profiles in a partial renovation requires finding or milling a matching profile rather than substituting something close.
Once finish carpentry is complete, the interior reads as intentional from floor to ceiling. Door frames sit with consistent reveals on all three sides, baseboards follow the floor plane without visible gaps, and transitions where flooring changes material or elevation are covered with an appropriate threshold that sits flush rather than proud. Infinity Coatings & Construction approaches this stage with attention to the way each element connects to adjacent finishes—a baseboard that terminates cleanly at a door casing, for example, or a window sill that returns to the wall at a consistent depth, produces a result that holds up visually when examined closely.
The scope of trim work varies considerably depending on whether the project involves a single room, a full floor, or a complete interior renovation. Partial upgrades—replacing dated baseboard profiles, adding casing to previously uncased openings, or installing new door casings after a remodel—are handled as standalone projects without requiring whole-room disruption. The condition of existing drywall at trim lines, the thickness of finished flooring, and the finish treatment planned for the trim itself all factor into how the installation is sequenced and what prep work is needed before the first piece goes in.
What Homeowners Ask Before Starting Trim Projects
These questions reflect what typically comes up when homeowners are preparing for a finish carpentry project, whether as part of a larger remodel or as a standalone interior upgrade.
How are inside corner joints handled in trim work?
Coped joints are the standard approach for inside corners on baseboards and moldings—one piece runs flat to the wall while the second piece is cut to follow the profile of the first, which keeps the joint tight even when walls shift slightly over time.
What preparation is needed before trim installation begins?
Walls should be primed or painted, flooring should be installed or at least confirmed in its final thickness, and any drywall repairs at trim lines should be completed and sanded so that trim can be fit to a stable, consistent surface.
Why does trim sometimes separate from the wall after installation?
Gaps between trim and wall surfaces typically develop when wood acclimates to indoor humidity after installation—using properly dried material and allowing it to acclimate to the home's conditions before cutting reduces movement after the trim is set.
When is it better to replace trim rather than paint over existing profiles?
Existing trim that has been painted multiple times, shows deep dents or water damage, or uses a profile that no longer matches the renovation's direction is generally worth replacing rather than patching, since the paint buildup alone can make crisp joints difficult to achieve.
How does Fall River's climate affect trim material choices?
Seasonal humidity swings common in coastal Massachusetts mean that solid wood trim in areas with less climate control—mudrooms, entryways, or spaces near exterior doors—can benefit from engineered or MDF profiles in specific applications where dimensional stability matters more than paintability.
Infinity Coatings & Construction can assess your current trim conditions and outline what finish carpentry will involve for your specific renovation—call (508) 617-0555 to schedule a walkthrough of your space.